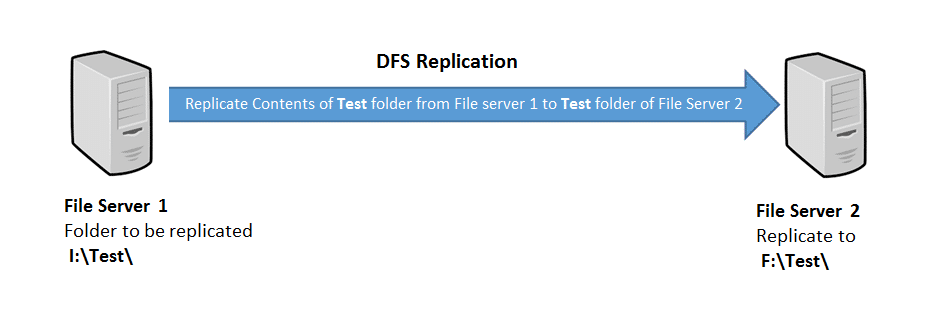
- Prepare Existing Drives: Ensure that the existing drives or folders you want to add to the DFS namespace are properly shared and accessible to the network.
- Access DFS Management Console: Open the DFS Management console on your server.
- Navigate to Namespaces: Expand the “Namespaces” node in the DFS Management console.
- Select Namespace: Right-click on the DFS namespace where you want to add the existing drives/folders and select “New Folder” to create a new folder within the namespace.
- Configure Folder Settings: Follow the wizard to configure the folder settings. You can specify the folder’s name, set permissions, and choose folder targets.
- Add Folder Targets: In the “Add Folder Target” wizard, specify the path of the existing drive or folder that you want to include in the namespace. You can add multiple folder targets to the same DFS folder, allowing clients to access the data from multiple servers.
- Specify Folder Settings: Configure the folder target settings such as referral ordering, target priority, and target priority override as needed.
- Complete the Wizard: Complete the wizard to add the folder target to the DFS namespace.
- Test Access: Test access to the DFS namespace from client machines to ensure that the existing drives or folders are accessible through the namespace.
- Verify Replication (if applicable): If you’re using DFS Replication (DFSR), monitor the replication status to ensure that data is being replicated properly across targets.


Leave a Reply